
Signing a PDF document using the DigiSign Client software
To sign PDF documents electronically using the DigiSign card reader software you need to have the software version 4.1.0 or a later version. In addition, you need the signature PIN (PIN2) of your certificate card.
These instructions can be applied to all operating systems that use the yellow smart card icon of DigiSign Client in the task bar: Windows, Mac and the most common Linux desktop distributions.
- First, ensure that the certificate card is in the card reader.
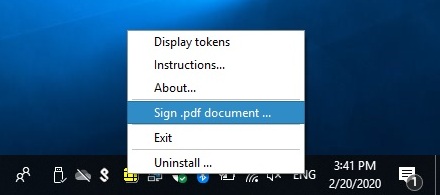
- Right-click the DigiSign Client icon in the task bar with your mouse. The icon is yellow when the card is in the reader.
- From the options displayed, select "Sign .pdf document”.
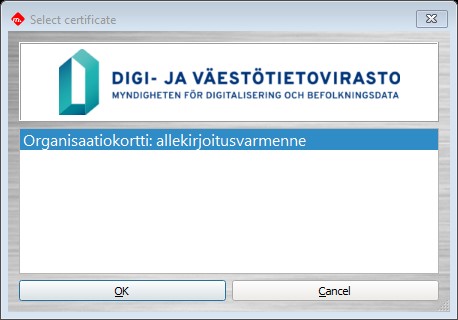
- The programme automatically suggests a signature certificate. Click OK.
- The programme opens a window in which you can browse and select the PDF document you need to sign from the files on your computer. Select the desired document and click ”Open”. The selected document will not open yet, however.
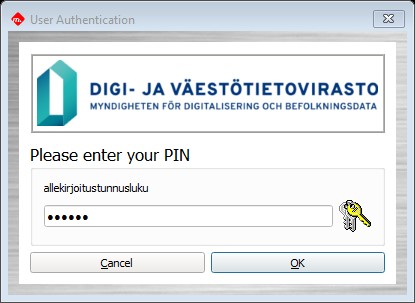
- Instead, the User Authentication window opens. Enter the signature PIN to the field reserved for it and click OK.
- The signature has been completed. After you have entered the signature PIN, the signed document opens using the default programme for PDF files (e.g. Adobe). The document is saved on the computer using its original name, but the programme adds the word “-signed” at the end of the name.
Please note that the signature will not be visible on the actual document but is saved in the metadata of the document. This does not affect the validityof the signature.
Signing a PDF document using Adobe Acrobat
To sign, you will need the signature PIN (PIN2) of your certificate card.
- First, ensure that the certificate card is in the card reader.
- Open the desired PDF document with Adobe Acrobat Reader or Pro. If the document opens in the Read only format, enable editing.
- Select "Use certificate” from the All tools tab.
- Select "Digitally Sign” from the Use certificate menu.
- The programme requests you to drag the mouse over the area where you want to add the signature. Click OK and then select the desired area on the document.
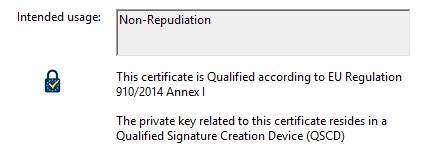
- The "Sign with a Digital ID" window will then open. In this window, you must select the digital identifier you will use for the signature. The programme will display the signature certificate and the authentication certificate, and you should select the signature certificate. If necessary, click "View details", on both certificates until you find the one with the word Non-Repudiation displayed in the Intended usage field of its details. This is the certificate you need to use to sign the document and the one you should select here. From then on, the programme will remember your selection. Click "Continue".
You will see the details of your signature in the window that opens. If you are the only or the last person to sign the document, select ”Lock document after signing”. Click "Sign". Save the file using the desired name. After this, a window opens requesting you to enter a PIN for approval. Enter the signature PIN (PIN2) to the field. After you have entered the PIN, the signature will be visible on the document. The document has now been signed electronically.